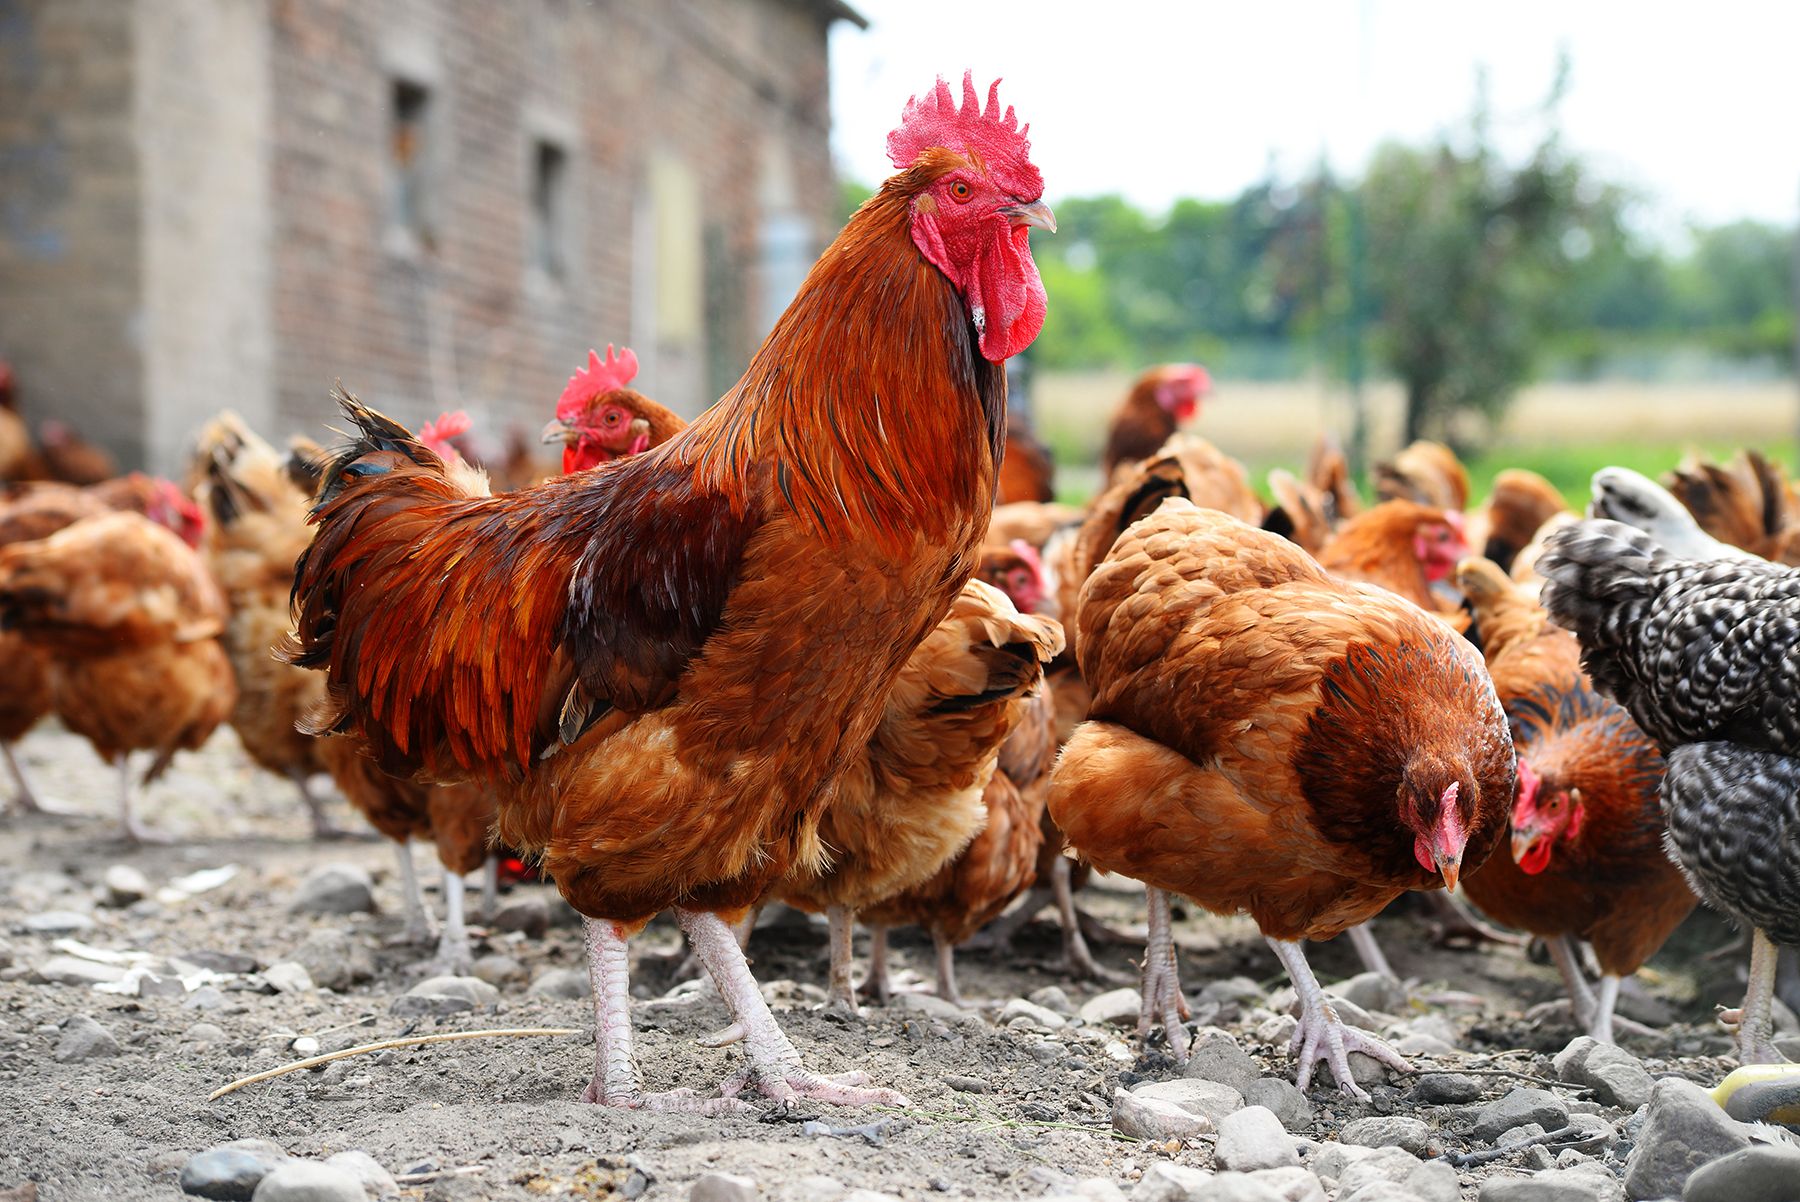
Building a simple incubator cabinet for large hatching batches
A spare cupboard can become a practical incubator for large hatching batches. Insulation helps maintain steady conditions, while a simple thermostat, fan and humidity control make the cabinet easier to manage than an improvised box.
The cabinet should provide stable heat, clean airflow and enough room to turn eggs. Its size, insulation and electrical load determine how many eggs it can handle without compromising hatch rates.
Australian conditions influence the design. Summer heat can raise cabinet temperatures quickly, while cool mornings and evenings create condensation risks. Reliable equipment, careful sanitation and an accurate hatch record are essential.
Plan fertility around hatch dates
Begin with the breeding flock, egg supply and expected hatch date. Australorp and Sussex hens are common among Australian backyard breeders, while commercial-scale batches may involve larger-bodied heritage breeds. Allow 21 days for chicken eggs after they are placed in the incubator, plus time for drying, cleaning and chick placement in a brooder.
Fertility and hatchability depend on flock health, nutrition and breeding management. For laying birds, clean water and balanced feed come first; this guide to adding apple cider vinegar explains the role and limitations of a common supplement. Hobby breeders around Sydney and Melbourne may also coordinate hatching with demand at weekend markets and local egg stalls.
Build a clean insulated shell
Choose a sturdy cupboard with a solid door, enough height for removable trays and space for equipment above the eggs. Seal gaps around the fan, wiring penetrations and vents. Use sealed plywood, stainless steel or washable plastic surfaces, avoiding MDF, particleboard, untreated timber and old lead-based paint in the warm, humid incubation space.
Australian hardware stores stock suitable insulation, thermostats, fans and food-safe coatings, but 240-volt components require care. Earth the cabinet, use a residual current device and keep connections away from water reservoirs. Use project planning resources to organise measurements, quotations and part numbers before purchasing equipment.
Control heat airflow and humidity
Position the thermostat probe near egg level rather than beside the heat source. A cabinet with a guarded low-wattage heater or heat lamp can maintain approximately 37.5°C, but the controller and thermometer should agree before eggs are added. Locate the cabinet out of direct sunlight and use a room thermometer to identify rapid seasonal changes.
Humidity generally needs to remain near 50–55% during early incubation, increasing to roughly 65–70% during the final three days. A clean water reservoir, wick or humidistat can provide control. Change water regularly and clean the reservoir to prevent mould, biofilm and mineral deposits.
Airflow must be gentle but continuous. A small fan helps equalise cabinet temperature, while adjustable fresh-air vents prevent stale air from accumulating. Avoid directing air across the eggs, and leave space between trays. During Brisbane summers, additional ventilation may be necessary; in Melbourne, protect the cabinet from cold drafts and sudden temperature changes.
Match capacity to the hatch
Capacity depends on tray spacing, airflow and heat distribution, not cupboard volume alone. A fan-assisted cabinet can suit approximately 100–300 chicken eggs, while larger batches need more uniform air movement.
| Cabinet design | Indicative chicken-egg batch | Main advantage | Main limitation |
|---|---|---|---|
| Basic insulated cupboard | 40–100 eggs | Low construction cost | Limited control and uneven airflow |
| Fan-assisted cabinet | 100–300 eggs | Compact and repeatable | Requires careful electrical and sensor setup |
| Forced-air cabinet | 300–600+ eggs | Even heat and humidity | Higher purchase and operating costs |
These figures are planning guides rather than guarantees. Test the cabinet with a small batch, mark the maximum safe loading level and monitor the warmest and coolest positions before increasing capacity.
Prepare and load the eggs
Use clean, uncracked fertile eggs and avoid washing them, as washing can carry bacteria through the shell. Reject eggs with obvious damage or unusual contamination, and keep them dry during storage. Place each batch in clean trays with the narrow end pointing downward, following the incubator manufacturer’s orientation guidance.
Preheat and stabilise the cabinet before loading, usually for 12–24 hours. Arrange eggs without crowding them, leave room for turning mechanisms and hand access, and record the setting date. Stagger batches only if the cabinet has sufficient space and every batch can receive the correct temperature and humidity.
Manage the incubation cycle
Keep chicken eggs near 37.5°C and turn them several times daily until the end of the seventeenth day. Automatic rotation is convenient for large batches, while manual turning should be consistent. Candling around days seven to ten can reveal clear infertile eggs, which should be removed carefully.
From day 18, stop turning and raise humidity while minimising cabinet opening. Keep an independent thermometer nearby and check conditions at several points inside the cabinet. Chicks may emerge over 24–48 hours, so resist opening the cabinet simply because the first chick has hatched. Once fully dry, move them into a secure brooder at approximately 35°C for their first week.
Clean up and start scaling
Remove hatch debris, disinfect washable surfaces and let the cabinet dry completely before the next batch. Replace cracked eggs and damaged trays promptly, and keep footwear, hands and collection containers clean when handling eggs or newly hatched chicks.
Before selling or posting fertile eggs or chicks, check the Biosecurity Act 2015, state and territory requirements, local council rules and carrier conditions. Interstate transport may require records, approvals, inspection or specific packaging, while international movements can attract additional biosecurity controls.
Start with a measured batch of 50–75 eggs and record every adjustment. When you are ready to expand, browse Premium Poultry Breeds’ hatching egg catalogue, reserve your equipment and choose a setting date before the eggs arrive. A successful first cycle then gives you the evidence needed to size a larger cabinet confidently.